# 第一个 Spring Boot 应用程序
# 概述
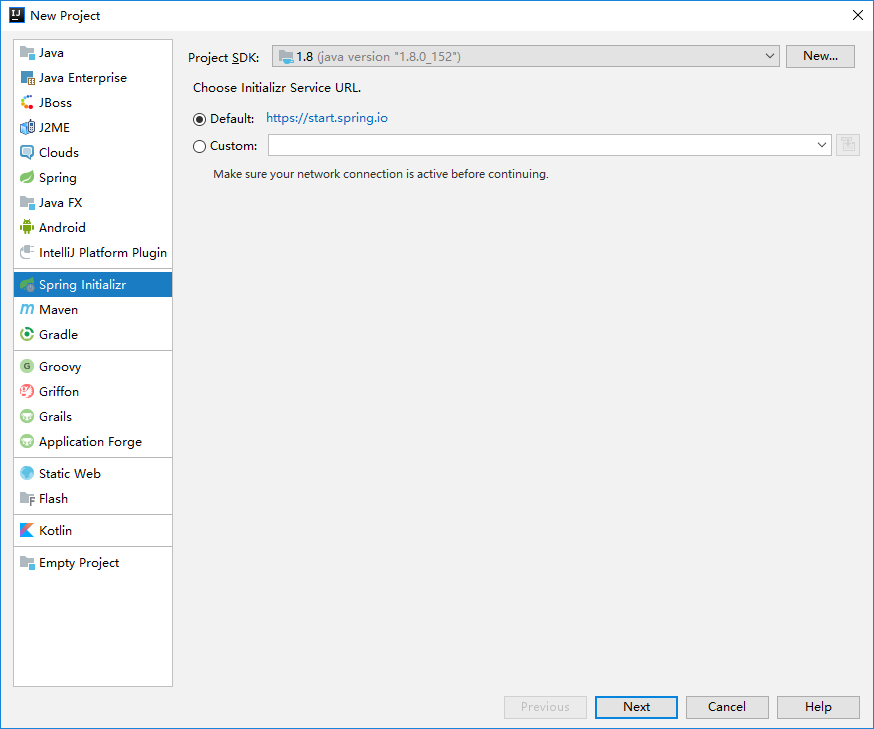
这里我们使用 Intellij IDEA 来新建一个 Spring Boot 项目。
# 流程
- 打开 IDEA -> New Project -> Spring Initializr
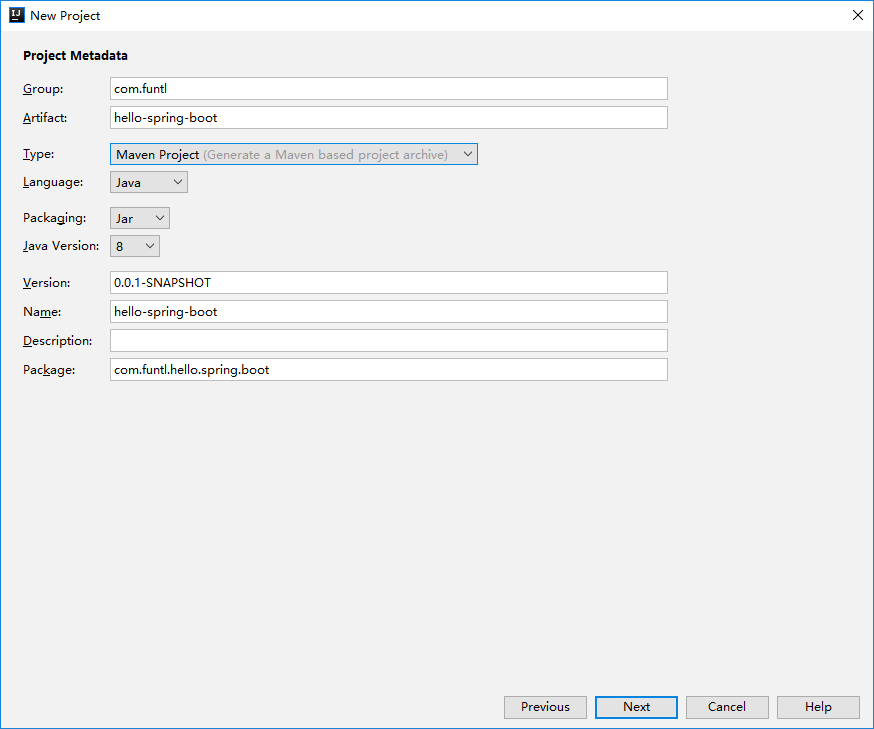
- 填写项目信息
- 选择 Spring Boot 版本及 Web 开发所需的依赖

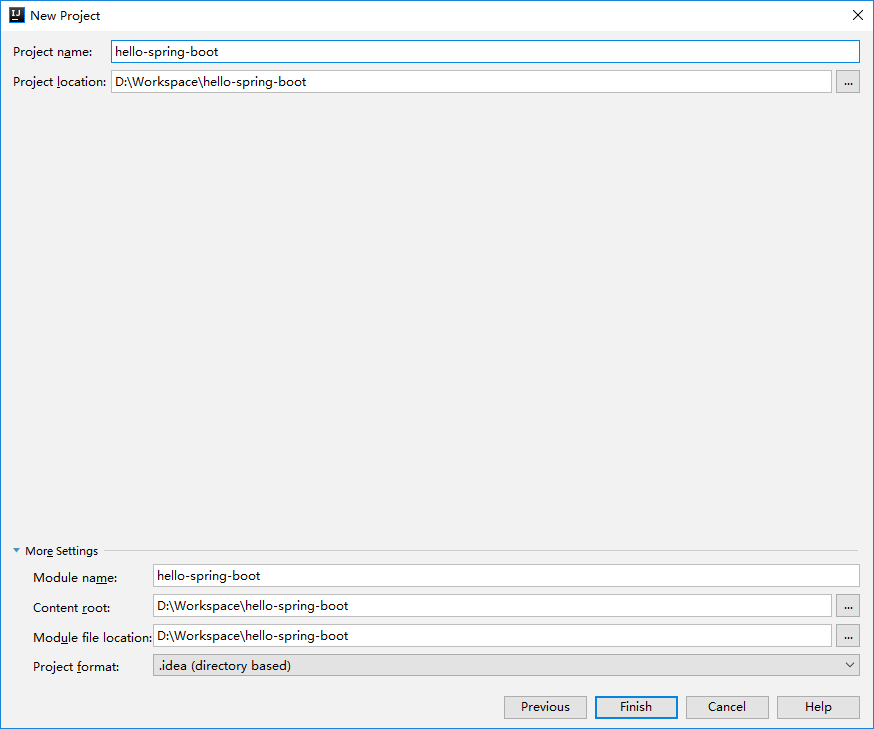
- 保存项目到指定目录
- 工程目录结构
创建完成后的工程目录结构如下:
│  .gitignore
│  pom.xml
│
│
└─src
    ├─main
    │  ├─java
    │  │  └─com
    │  │      └─funtl
    │  │          └─hello
    │  │              └─spring
    │  │                  └─boot
    │  │                          HelloSpringBootApplication.java
    │  │
    │  └─resources
    │      │  application.properties
    │      │
    │      ├─static
    │      └─templates
    └─test
        └─java
            └─com
                └─funtl
                    └─hello
                        └─spring
                            └─boot
                                    HelloSpringBootApplicationTests.java
1
2
3
4
5
6
7
8
9
10
11
12
13
14
15
16
17
18
19
20
21
22
23
24
25
26
27
2
3
4
5
6
7
8
9
10
11
12
13
14
15
16
17
18
19
20
21
22
23
24
25
26
27
- gitignore:Git 过滤配置文件
- pom.xml:Maven 的依赖管理配置文件
- HelloSpringBootApplication.java:程序入口
- resources:资源文件目录
- static: 静态资源文件目录
- templates:模板资源文件目录
- application.properties:Spring Boot 的配置文件,实际开发中会替换成 YAML 语言配置(application.yml)
- pom.xml
<?xml version="1.0" encoding="UTF-8"?>
<project xmlns="http://maven.apache.org/POM/4.0.0" xmlns:xsi="http://www.w3.org/2001/XMLSchema-instance"
         xsi:schemaLocation="http://maven.apache.org/POM/4.0.0 http://maven.apache.org/xsd/maven-4.0.0.xsd">
    <modelVersion>4.0.0</modelVersion>

    <groupId>com.funtl</groupId>
    <artifactId>hello-spring-boot</artifactId>
    <version>0.0.1-SNAPSHOT</version>
    <packaging>jar</packaging>

    <name>hello-spring-boot</name>
    <description></description>

    <parent>
        <groupId>org.springframework.boot</groupId>
        <artifactId>spring-boot-starter-parent</artifactId>
        <version>2.0.2.RELEASE</version>
        <relativePath/> <!-- lookup parent from repository -->
    </parent>

    <properties>
        <project.build.sourceEncoding>UTF-8</project.build.sourceEncoding>
        <project.reporting.outputEncoding>UTF-8</project.reporting.outputEncoding>
        <java.version>1.8</java.version>
    </properties>

    <dependencies>
        <dependency>
            <groupId>org.springframework.boot</groupId>
            <artifactId>spring-boot-starter-web</artifactId>
        </dependency>

        <dependency>
            <groupId>org.springframework.boot</groupId>
            <artifactId>spring-boot-starter-test</artifactId>
            <scope>test</scope>
        </dependency>
    </dependencies>

    <build>
        <plugins>
            <plugin>
                <groupId>org.springframework.boot</groupId>
                <artifactId>spring-boot-maven-plugin</artifactId>
            </plugin>
        </plugins>
    </build>

</project>
1
2
3
4
5
6
7
8
9
10
11
12
13
14
15
16
17
18
19
20
21
22
23
24
25
26
27
28
29
30
31
32
33
34
35
36
37
38
39
40
41
42
43
44
45
46
47
48
49
2
3
4
5
6
7
8
9
10
11
12
13
14
15
16
17
18
19
20
21
22
23
24
25
26
27
28
29
30
31
32
33
34
35
36
37
38
39
40
41
42
43
44
45
46
47
48
49
- parent:继承了 Spring Boot 的 Parent,表示我们是一个 Spring Boot 工程
- spring-boot-starter-web:包含了 spring-boot-starter 还自动帮我们开启了 Web 支持
# 功能演示
我们创建一个 Controller 来演示一下 Spring Boot 的神奇功能
package com.funtl.hello.spring.boot.controller;

import org.springframework.web.bind.annotation.RequestMapping;
import org.springframework.web.bind.annotation.RequestMethod;
import org.springframework.web.bind.annotation.RestController;

@RestController
public class HelloController {

    @RequestMapping(value = "", method = RequestMethod.GET)
    public String sayHi() {
        return "Hello Spring Boot";
    }
}
1
2
3
4
5
6
7
8
9
10
11
12
13
14
2
3
4
5
6
7
8
9
10
11
12
13
14
启动 HelloSpringBootApplication 的 main() 方法,浏览器访问 http://localhost:8080 可以看到:
Hello Spring Boot
1
# 神奇之处
- 没有配置 web.xml
- 没有配置 application.xml,Spring Boot 帮你配置了
- 没有配置 application-mvc.xml,Spring Boot 帮你配置了
- 没有配置 Tomcat,Spring Boot 内嵌了 Tomcat 容器
本文引用自www.funtl.com (opens new window),侵删。